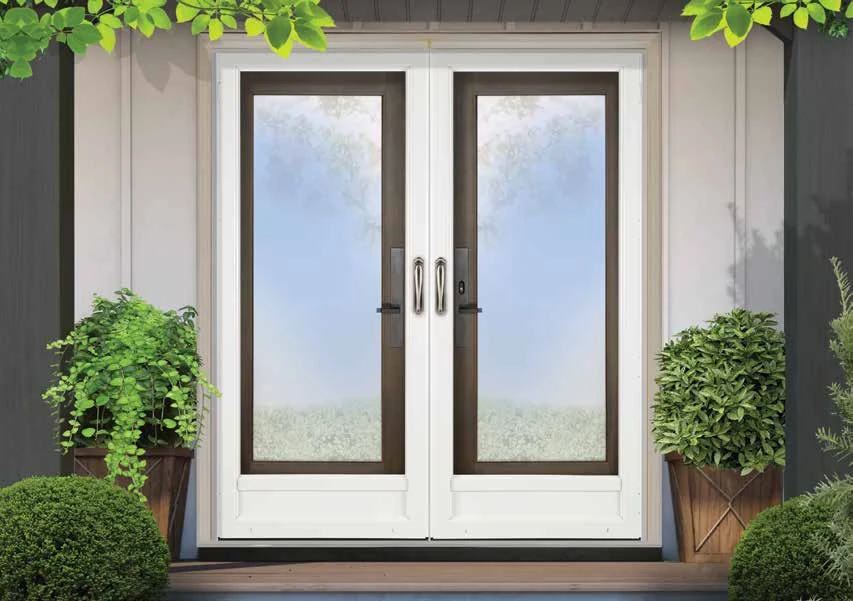
Installing a storm door is one of those jobs that looks like an afternoon and behaves like a weekend. It’s absolutely DIY-able if your opening is square, your trim is sound and your patience is stocked — and it’s absolutely worth handing off if any of those three is missing. Here’s the honest version of how a storm door goes in, step by step, including the parts the box instructions gloss over.
Before Anything: Measure and Check the Trim
Every smooth installation starts a week earlier, with good measurements and a hard look at the mounting surface. We covered the whole process in our guide on how to measure for a storm door — read it first, because no amount of installation skill fixes a door that’s wrong for the opening.
Step 1 — Fit the Hinge-Side Rail
The hinge rail (a vertical aluminum channel) attaches to the door first, then the whole assembly mounts to the trim on your chosen hinge side. Cut the rail to your opening height per the instructions, hold the door in place, and screw the rail to the trim — top screw first, then plumb it with a level before the rest go in. Plumb here decides everything: a leaning hinge rail is a sagging, self-opening or self-closing door forever.
Step 2 — Top Rail and Latch-Side Rail
With the door hanging, fit the top rail (the drip cap) snug to the trim above, then the latch-side rail, keeping an even gap — about the thickness of a nickel — between door and rail from top to bottom. If your opening is out of square, this is where you’ll feel it: the rails have some adjustment, but they can’t invent parallel lines.
Step 3 — Bottom Expander and Sweep
The expander slides onto the door bottom and adjusts down so its sweep just kisses the sill along the whole width — snug enough to seal, loose enough not to drag. Sloped sills (most of them) mean one end of the expander sits lower than the other. Take your time; this is the seal that keeps winter out.
Step 4 — Handle, Latch and Strike
Install the handle set at comfortable height (matching your entry handle looks best), then the strike on the latch-side rail. Close slowly and watch the latch meet the strike; adjust before you tighten everything. If the door needs a shoulder to latch, the gap or the strike is off — fix it now, not “later.”
Step 5 — The Closer(s)
Mount the closer bracket to the frame, the shoe to the door, and set the tension so the door closes fully without slamming. Two-closer doors (top and bottom) want balanced tension. Set the hold-open washer, test twenty times, adjust twice. This is also your future maintenance point — most “broken” storm doors are really closer adjustments waiting to happen.
The DIY installs we get called to rescue fail in the same two places: a hinge rail that was screwed tight before it was plumb, and an expander that never got adjusted to the sill slope — so the door drags at one corner and whistles at the other. Neither mistake is about skill; they’re about knowing which two steps deserve triple the time. If your opening is square and your trim is solid wood, take the weekend and enjoy it. If not, our doors come pre-hung and custom-made to the opening, installed square, sealed, and swinging the right way — with the old door hauled away.
DIY vs. Supplied-and-Installed: The Honest Math
A big-box door plus hardware plus your weekend is the DIY route, and on a friendly opening it’s a fine one. Our route is a custom-measured, Canadian-made door supplied and installed for $1,200–$1,450 all-in — measured on-site, built for your actual opening, installed by people who do it daily, old door removed. Where it wins: out-of-square openings, damaged trim, shaped or oversized doors, and everyone who values their weekend above their pride. Details on the full range live on our storm door page.
Custom-measured, supplied and installed — free estimate first.
Get a Free EstimateInstallation FAQs
How long does a storm door installation take?
A pro on a standard opening: a couple of hours. A first-timer: plan half a day, and don’t schedule anything after. Out-of-square openings and trim repairs add time either way.
What tools do I need?
Drill with bits, hacksaw for the rails, level, tape measure, screwdrivers — plus a helper for the ten minutes the door hangs half-attached.
Can a storm door go on any entry?
Almost any — including round-top and shaped openings, French-door conversions and inswing configurations, though those are custom territory rather than big-box.
Why does my new door sag or drag already?
Nearly always a hinge rail that went in slightly off plumb, or hinge screws working loose. Our sagging storm door guide walks through the fix.
What does professional installation cost?
Supplied and installed, a new custom storm door runs $1,200–$1,450 all-in — parts, labour and haul-away included. The estimate is free.